When getting acquainted with new technologies I believe users should be able to get started without spending more than 15 minutes setting up a sandbox environment. But when it comes to setting up a big data cluster, 15 minutes is a lofty goal. However, it is possible to get started that quickly with MapR’s Hadoop distribution. MapR’s “Converged Data Platform” conveniently includes most of the technology that you would expect in a general purpose big data platform. They also provide a couple different ways to get started. In particular their Sandbox VMs and tutorials are excellent ways to get your hands dirty within the limits of a workstation running Visual VM. However, in order for those sandbox environments to run on laptops they are necessarily very limited on memory and disk resources.
For a more enterprise ready sandbox which can scale, you might want to just install MapR on the Azure or Amazon cloud. That’s what I’m going to show you how to do now.
How to build a 3-node Hadoop cluster on Amazon EC2 in 15 minutes:
This procedure requires that you have the Amazon EC2 command-line toolkit installed.
First, we need to provision cluster nodes. The following script will create three new virtual servers ubuntu m3.large instance.
NUM_NODES=3
SECURITY_GROUP=iandow-sg
# ------------ Don't edit below this line -------- #
for i in `seq 1 $NUM_NODES`; do
ID=`aws ec2 run-instances --image-id ami-9abea4fb --security-group-ids $SECURITY_GROUP --count 1 --instance-type m3.xlarge --key-name iandow-key --output json | grep InstanceId | cut -f 4 -d '"'`
aws ec2 create-tags --resources $ID --tags "Key=Name,Value=iandow$i"
publicIP=`aws ec2 describe-instances --instance-ids $ID --query 'Reservations[0].Instances[0].PublicIpAddress'`
privateIP=`aws ec2 describe-instances --instance-ids $ID --query 'Reservations[0].Instances[0].PrivateIpAddress'`
echo $ID
echo -e \\t$publicIP\\t$privateIP
done
Be sure to open all inbound ports for 172.0.0.0/8 in the security group
After the VMs starts, run this command to get their IDs and IPs:
aws ec2 describe-instances --filters "Name=tag:Name,Values=iandow*" --output json | grep InstanceId | cut -f 4 -d '"' | while read ID; do publicIP=`aws ec2 describe-instances --instance-ids $ID --query 'Reservations[0].Instances[0].PublicIpAddress'`; privateIP=`aws ec2 describe-instances --instance-ids $ID --query 'Reservations[0].Instances[0].PrivateIpAddress'`; DNS=`aws ec2 describe-instances --instance-ids $ID --query 'Reservations[0].Instances[0].PrivateDnsName'`; echo -e $ID\\n\\t$publicIP\\t$privateIP\\t$DNS; done Open an ssh sessions to the VMs, set the password for root and allow ssh root ssh access, like this:
MY_KEY_FILE=~/.ssh/my-key.pem
PASSWORD=[pick an admin password]
NODE_IP=...
ssh -i $MY_KEY_FILE -oStrictHostKeyChecking=no ubuntu@$NODE_IP "PASSWORD=$PASSWORD"
sudo su
cat /etc/ssh/sshd_config | sed 's/PermitRootLogin without-password/PermitRootLogin yes/g' | sed 's/PasswordAuthentication no/PasswordAuthentication yes/g' > here; mv here /etc/ssh/sshd_config
service ssh restart
echo -e $PASSWORD\!\\n$PASSWORD\! | passwd root
Then here’s what you would then run to install mapr webui (only on the console node):
sudo su
wget http://package.mapr.com/releases/installer/mapr-setup.sh -P /tmp
chmod 700 /tmp/mapr-setup.sh
/tmp/mapr-setup.sh
Once that finishes, run the webui mapr installer. When the installer completes, you’ll be prompted to log into the webui to complete the remaining installation tasks. That notice will look something like this:
To continue installing MapR software, open the following URL in a web browser https://ec2-54-218-14-69.us-west-2.compute.amazonaws.com:9443
In order to log into that URL, you may need to add your IP to your AWS security group. Here’s a helpful one-liner for doing that:
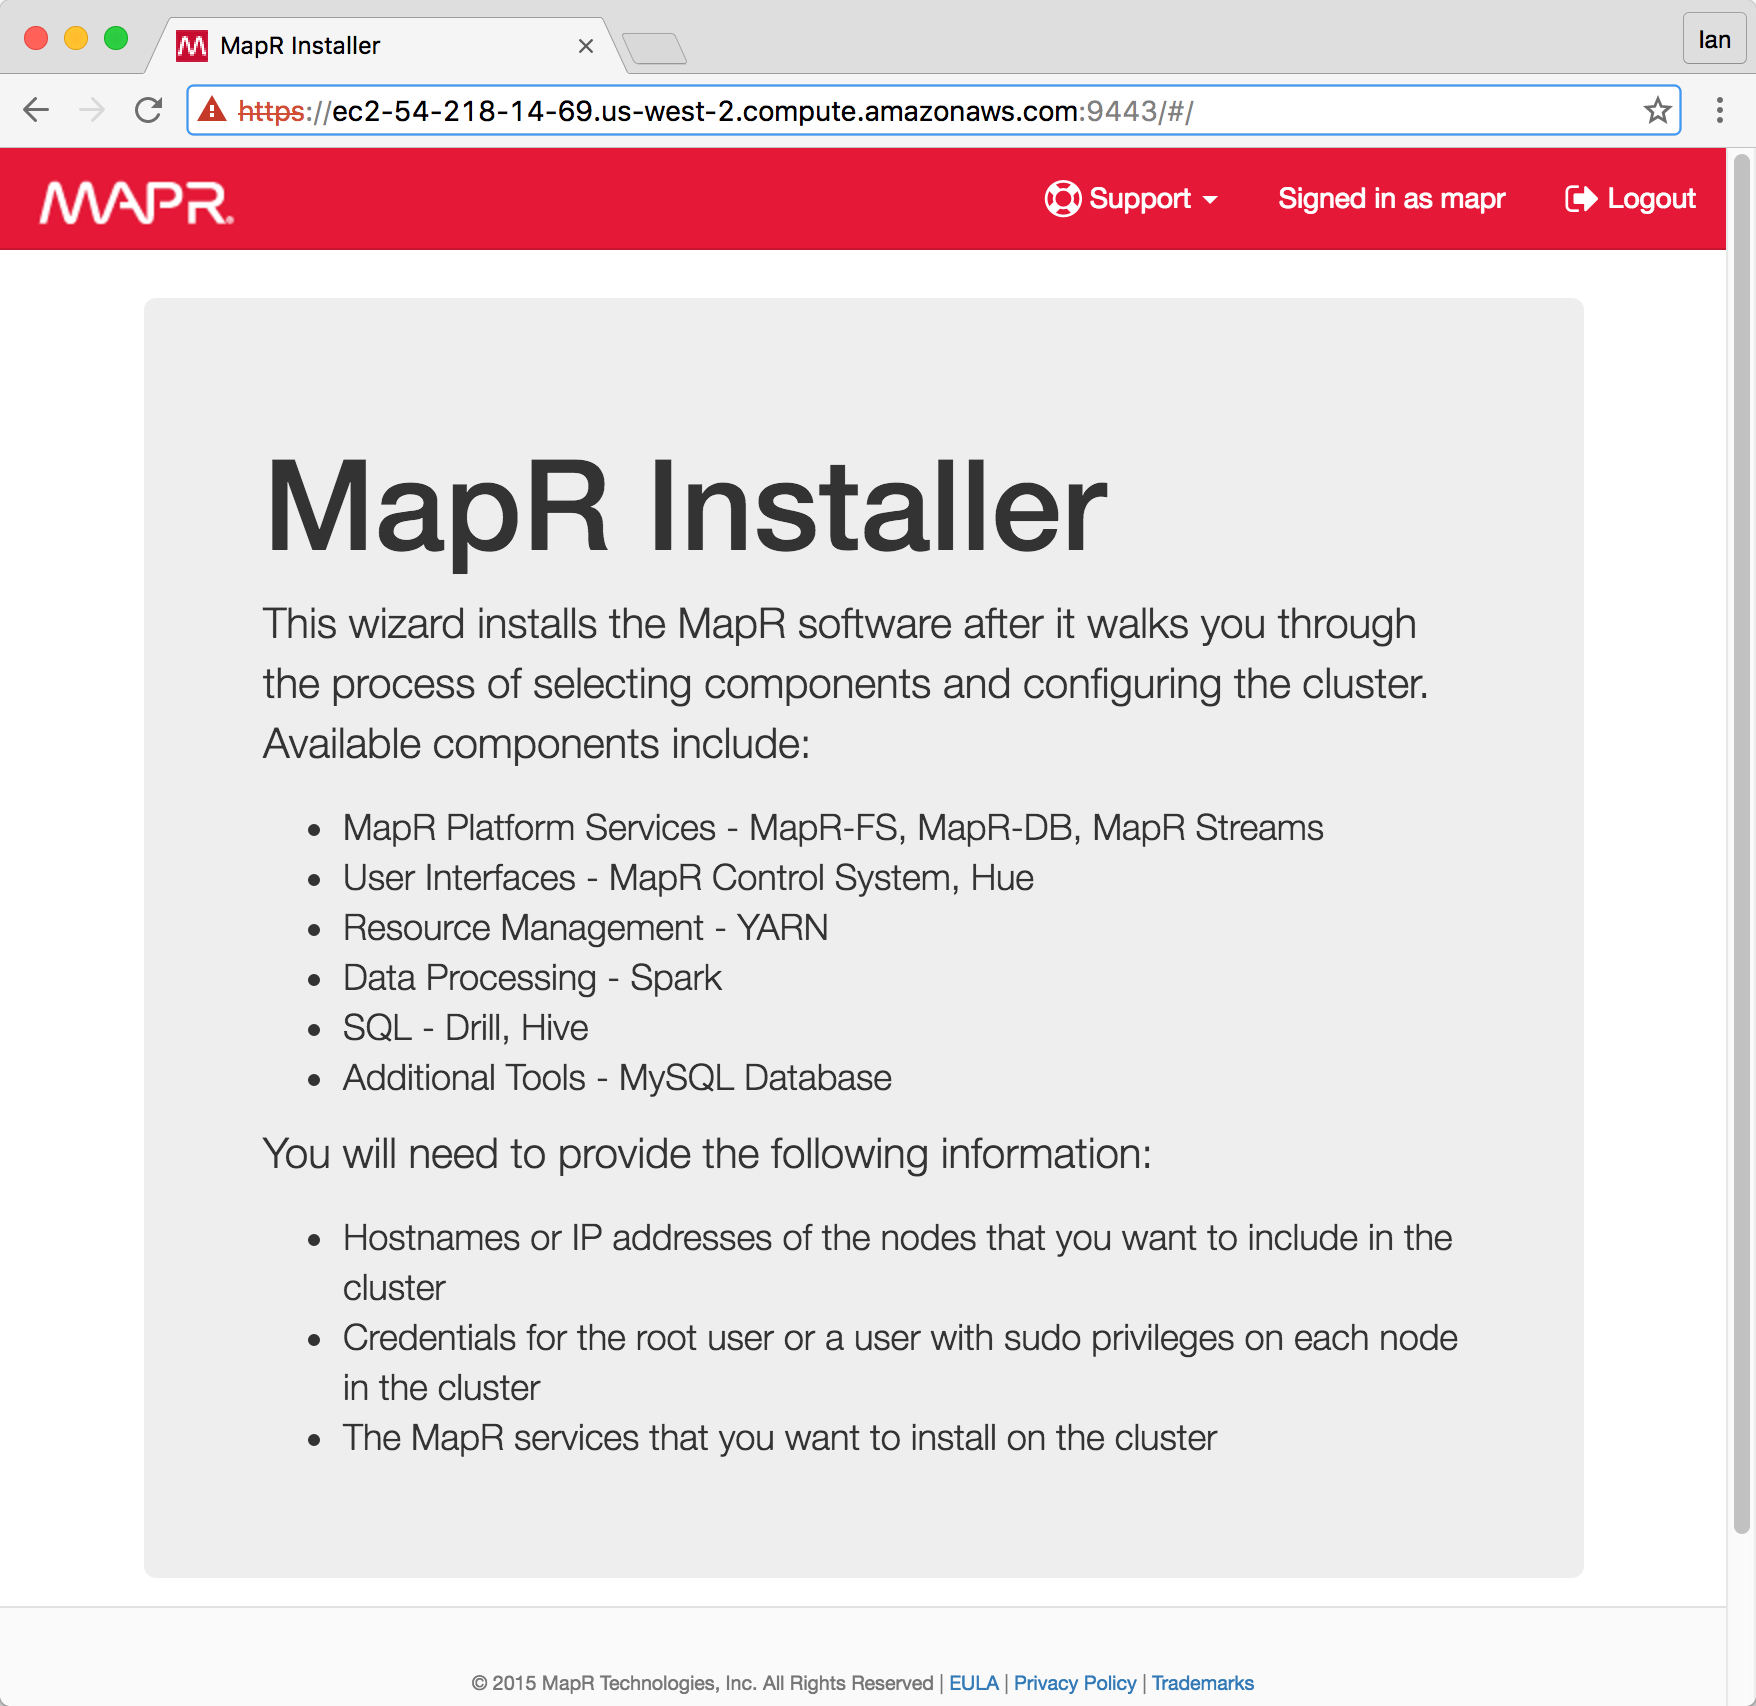
aws ec2 authorize-security-group-ingress --group-name iandow-sg --protocol tcp --port '0-65535' --cidr `curl https://ifconfig.co`/32Once you log onto the webui, you should see a page that looks like this:
When you’re done using your cluster, you may want remove your nodes. Here’s a useful one-liner for doing that. This will delete all the instances I’ve tagged with “iandow”:
aws ec2 describe-instances --filters "Name=tag:Name,Values=iandow*" --output json | grep InstanceId | cut -f 4 -d '"' | while read ID; do aws ec2 terminate-instances --instance-ids $ID; done